
Hi,
Thank you for stopping by today. I promised and I am delivering a review of one of my favorite beauty products, Kiss Impress Press on Nails. I found out about this fast, long-lasting alternative to gel manicure (which can make your nails brittle, FYI) sometime last year from a friend and I have been hooked since then. I received products from KISS for my review in June but like I mentioned above I have been using their products way before this opportunity, so you know you are getting an honest review. If you are always on the go, don’t have the time to go to the nail shop, love having pretty nails and want to save money while still having pretty nails, keep reading this product is for you. Also I am giving away one set of KISS Impress to a reader and a friend.

If you follow the instructions that comes with the product to the T, you will have no issues with it. Keyword being, following every single step. Don’t skip any step because you will end up with nails that come off easily and we don’t want that.


Step to applying KISS Impress Nails
Wash and dry your hands afterwards.
Ensure your nails are nicely trimmed/ cut down including those stubborn cuticles.
Use the included alcohol pad to clean your nails and your nail bed.
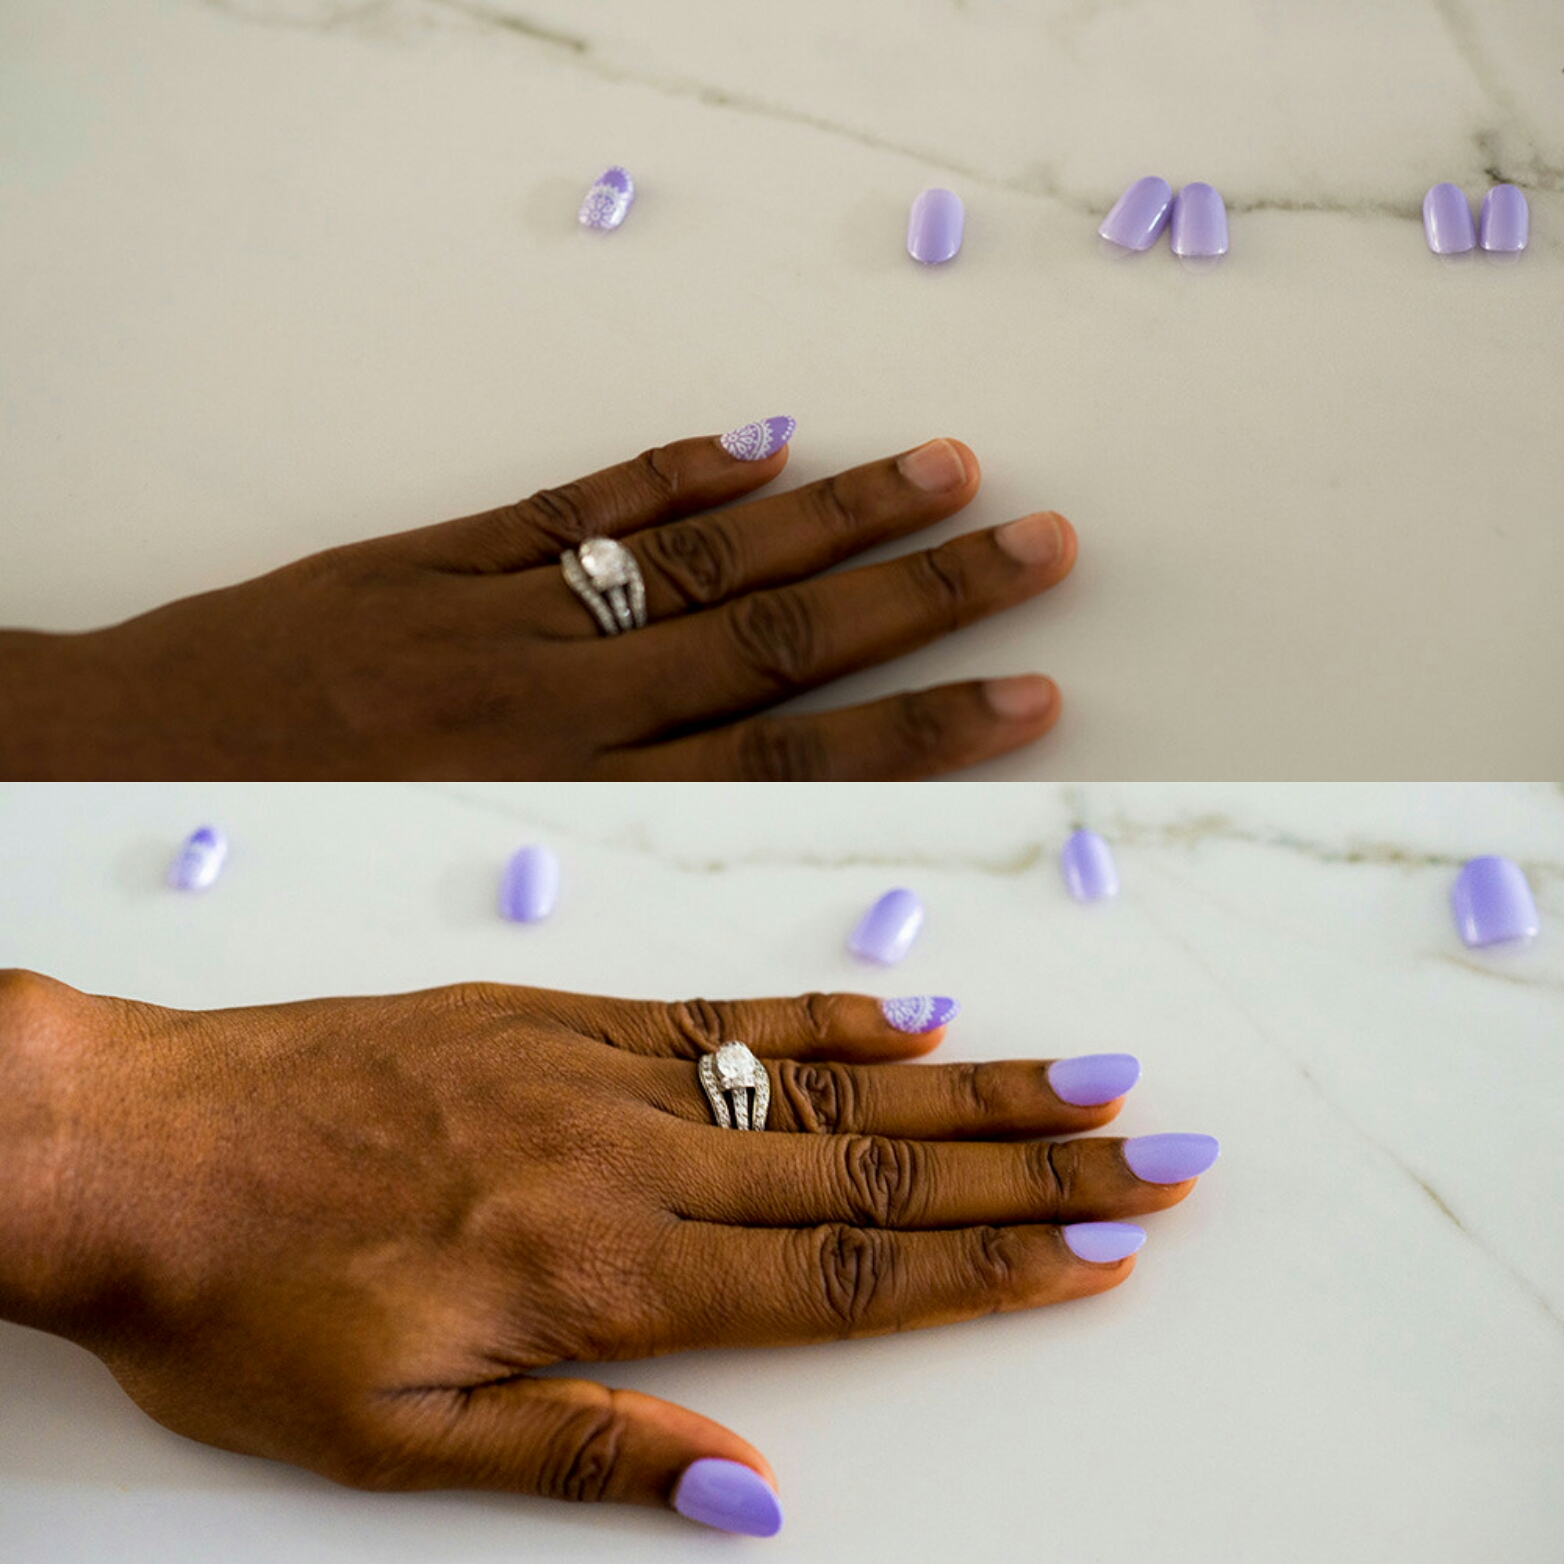
Open the package and begin to match the nail to yours. The key is to pick the ones that covers your entire nail but doesn’t cover your cuticle, that’s the only way it will look natural. There are numbers on every single nail, so once you pick one for one hand, you have done the work for both hands.
Peel off the adhesive on the back of the nail and apply a little bit of pressure to ensure it sticks. The correct way to apply it, is to make sure the side with the number is visible (pretty much the side without the number is what you apply on your nail bed.
Do not dip your hands in water for up to 1 hour after applying the nails.
Voila, you are done. You can choose to file your nails down with the nail filer included.
This whole process takes me about 10 minutes.
My favorite ones are the oval shaped nails.


I run a baking business, so you know my hands are always in water quite often. I have found this product lasts even with this. It lasts about 10 to 14 days. I love that they come in different designs and they are inexpensive. You can get up to 2 uses out of the set of 30 nails in a pack. Taking it off is simple, just peel off the nails using a manicure tool such as this or any angled object.They cost about $6.99 per pack. You can find them at your local pharmacy store, Walmart, Target stores or online via Amazon. Give this product a try and let me know what you think.
Giveaway (August 5-August 12, open to all my readers)
Here are the simple rules to win a set for you and a friend
-Like my Facebook page and leave a comment under this post
-Like this post on my Instagram page and leave a comment (that is the only way I can get back to you if you win.)

Thank you and have a nice weekend!


Omg..i looove it and I want to win lol…
Good tutorial
THANK YOU for telling us that the side WITHOUT the number goes against the cuticle!!! I just bought my first set (Kiss Short Gel Fantasy Ready-To-Wear), I carefully read the instructions, then wondered which side goes against the cuticle!! The instructions did not advise! Maybe it doesn’t matter? Since this is my first time applying Kiss Nails, how would I know? I read instructions posted by other bloggers, watched several YouTube videos, but all of them basically repeated the manufacturer’s instructions! And NONE of them told me which side goes against the cuticle!!
Thank goodness I found your blog post online! You are the only one who instructed which side to put the number!! Maybe that info is common knowledge for the majority? My friend, who always wears Kiss Nails and recommend them to me, didn’t even know! She said she never pays attention to which side she places against the cuticle! 😂 So, maybe it’s not that big of a deal, but it is to me! Since it’s my first time, I want to do it right!!
Anyway, this is a lengthy comment (or rant) to THANK YOU for your COMPLETE instructions! Kiss Nails should include your Instructions with each package!
Thanks again! 😊
Oh wow, thank you so much Tina 🙏🏾 for taking the time to send this review. It means a lot to me that you found my post super useful😀
LMAO thanks for saying which side goes on nail cuticle! I did mine upside down but it’s okay I know now next time lol! I wondered because the side that I put on my nail bed is definitely thicker than the other side and it would chip or fold fast so that why I did my research lol I’m so dumb
I just found your page and I’m obsessed – you’re so awesome!
Question about the Impress nails – I find that even if I match the sizes well, there is a gap around the edges for me. Do you have any suggestions on getting total adhesion? I’ve gotten my fingers caught running running them through my hair.
Thank you, Titilola!
Hi Judith, thank you for your kind words😀 I use a cuticle pusher to pull them in before I apply my impress nails. It helps with that.
I Soo agree with Tina from November 2018! Here it is, 2020 and this was the ONLY blog I found that specified, 100% , which way the number on the back of the artificial nail should be applied to the nail bed. Thank you a million times over! The mystery has been solved! Yay!
You are welcome 🙂